Image Guides
Adjust Photo Brightness & Contrast Online (No Software Needed)
Fix dark, washed-out, or underexposed photos in your browser. Adjust brightness, contrast, and saturation in real time with zero software installs or uploads.
NeedAnyToolPublished 3 min read
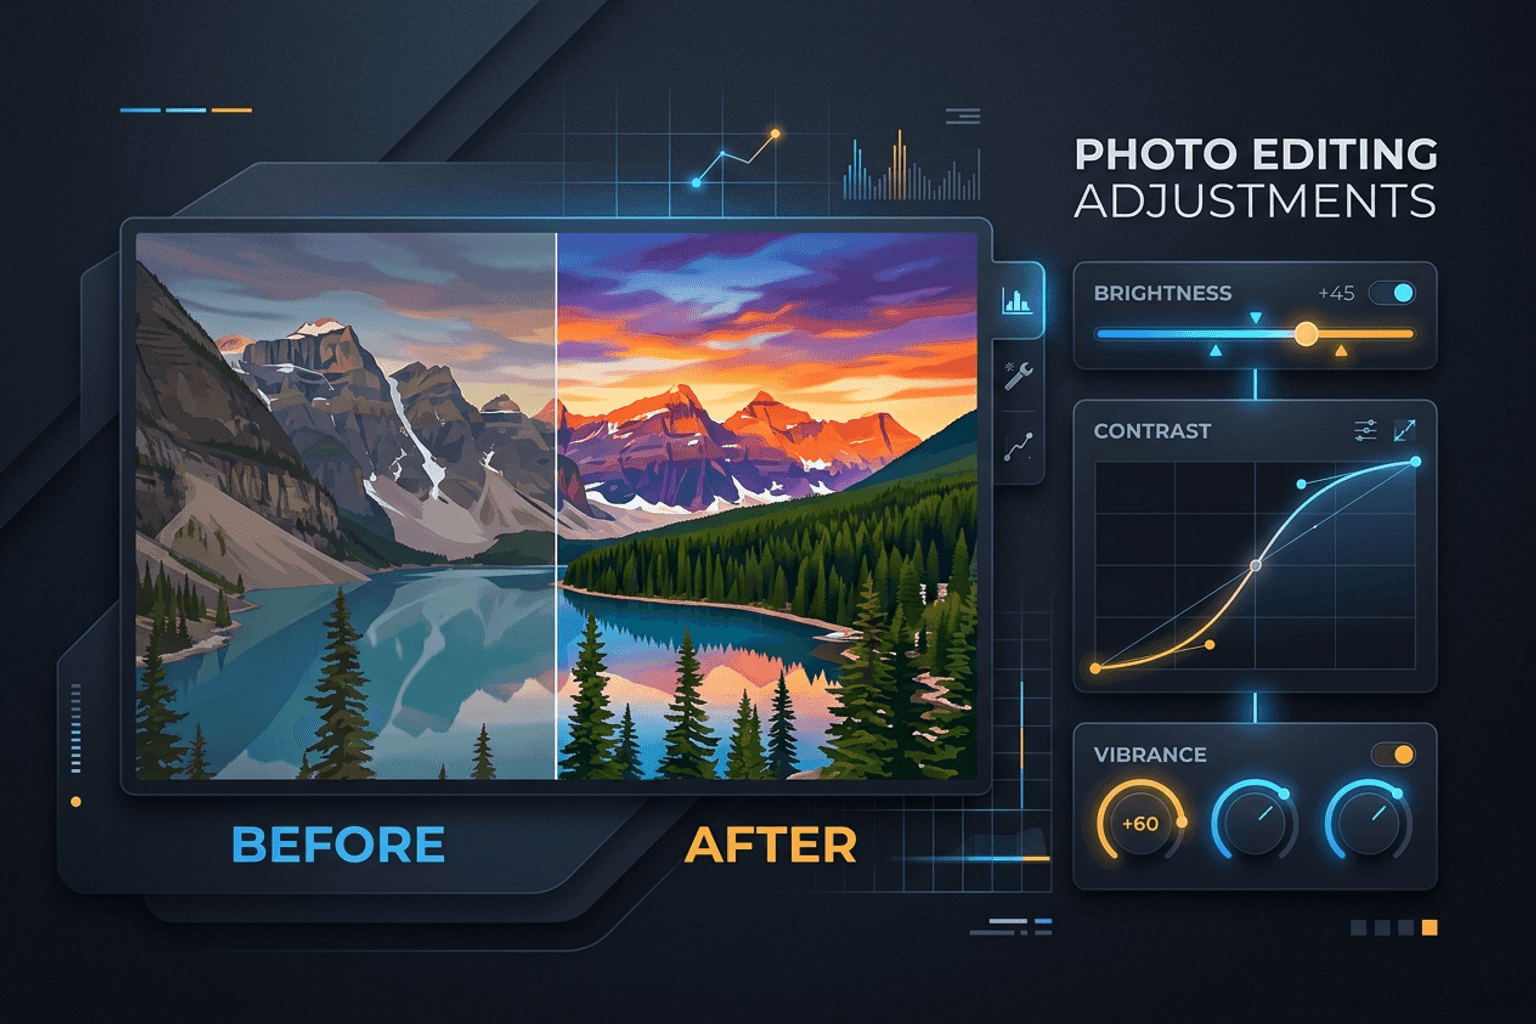
You snapped a photo of a whiteboard after a team brainstorm, or took a team portrait in a dimly lit conference room. The subject is there, but the shot is dark, muddy, and hard to read. Opening a 2 GB desktop photo suite just to slide exposure up by 20% is overkill.
Adjust Image gives you direct, hardware-accelerated sliders for brightness, contrast, and saturation right inside your web browser. You get an instant before-and-after preview without uploading your private pictures to any cloud server.
Understanding the three core adjustment levers
When tweaking a digital image, small, balanced adjustments yield the most natural look. Here is how the three main sliders interact:
- Brightness (Exposure): Shifts all pixel values up or down across the tonal range. Raising brightness lifts dark shadows, but pushing it too far can blow out highlights and make whites look chalky.
- Contrast: Increases the separation between the darkest darks and brightest brights. Boosting contrast adds punch and crispness to flat, hazy photos. Lowering contrast creates a softer, more muted look.
- Saturation (Vibrance): Controls color intensity. Boosting saturation brings dull foliage and skies to life, while reducing it calms aggressive neon lighting.
Under-exposed Photo ──> +Brightness ──> +Contrast ──> Crisp, legible photo
Washed-out / Flat   ──> +Contrast   ──> +Saturation──> Vibrant, vivid colors
Step-by-step: How to balance an image
- Open Adjust Image.
- Drop or select your photo (JPG, PNG, or WebP).
- Start with Brightness: Gently nudge the brightness slider until shadowed details (faces, text on paper) become clearly visible.
- Counter with Contrast: Lifting brightness often washes out blacks. Increase contrast by +10% to +25% to restore rich shadow depth.
- Tune Saturation: If colors look faded after brightening, add a small touch of saturation (+5% to +15%).
- Click Download to save your polished, full-resolution image.
If your photo also needs specific dimension adjustments for social feeds, pass it directly into Resize Image or Social Media Sizes.
Common adjustment scenarios
| Photo problem | Primary slider to adjust | Secondary fix |
|---|---|---|
| Dark indoor portrait | + Brightness (+20% to +35%) | + Contrast (+15%) to prevent gray skin tones |
| Scanned document / receipt | + Contrast (+30% to +50%) | + Brightness (+15%) to whiten background paper |
| Hazy outdoor landscape | + Contrast (+20%) | + Saturation (+10% to +20%) |
| Overly saturated neon light | - Saturation (-15% to -30%) | Keep Contrast neutral |
Pro-tips for clean photo adjustments
- Zoom in to 100%: Always check important details like eyes, facial texture, or small document text to ensure you haven't introduced harsh digital noise.
- Crop before adjusting: If a bright window in the corner of your photo is throwing off the overall balance, use Crop Image to cut it out first.
- Preserve original resolution: NeedAnyTool's browser engine applies pixel adjustments without shrinking your canvas dimensions.
Your photos are processed entirely on your device using your browser's native canvas engine. Nothing is uploaded to our servers, keeping your family memories, private screenshots, and work assets confidential.
FAQ
Does adjusting brightness reduce image quality?
Mild adjustments maintain crisp quality. Extreme brightness boosts (+80% or more) on heavily compressed JPGs can reveal background noise or digital compression artifacts that were hidden in deep shadows.
What file formats are supported?
You can adjust JPG, PNG, WebP, and standard image formats directly in modern browsers.
Can I turn my adjusted photo into a PDF document?
Yes. Once you have downloaded your adjusted image, use Image to PDF to create a clean PDF document.
Related guides
Image Guides
Photo Too Dark? Brighten It in Your Browser
Brighten dark photos online — fix underexposed shots with brightness and contrast controls. Free, private, no upload.
Image Guides
Dull Photo? Fix Contrast and Saturation Fast
Fix faded, flat photos with contrast and saturation sliders — online in your browser. Make colours pop without installing software.
Image Guides
Pack Game Sprites Into One Sheet + JSON
Create a game sprite sheet online — pack frames into one image plus a JSON map. Free browser tool for indie devs and pixel art.