Image Guides
How to Resize Images for Instagram, LinkedIn, and Social Posts
How to resize images for Instagram, LinkedIn, YouTube, X, and Facebook using browser presets — crop and resize on-device, no upload.
NeedAnyToolPublished Updated 2 min read
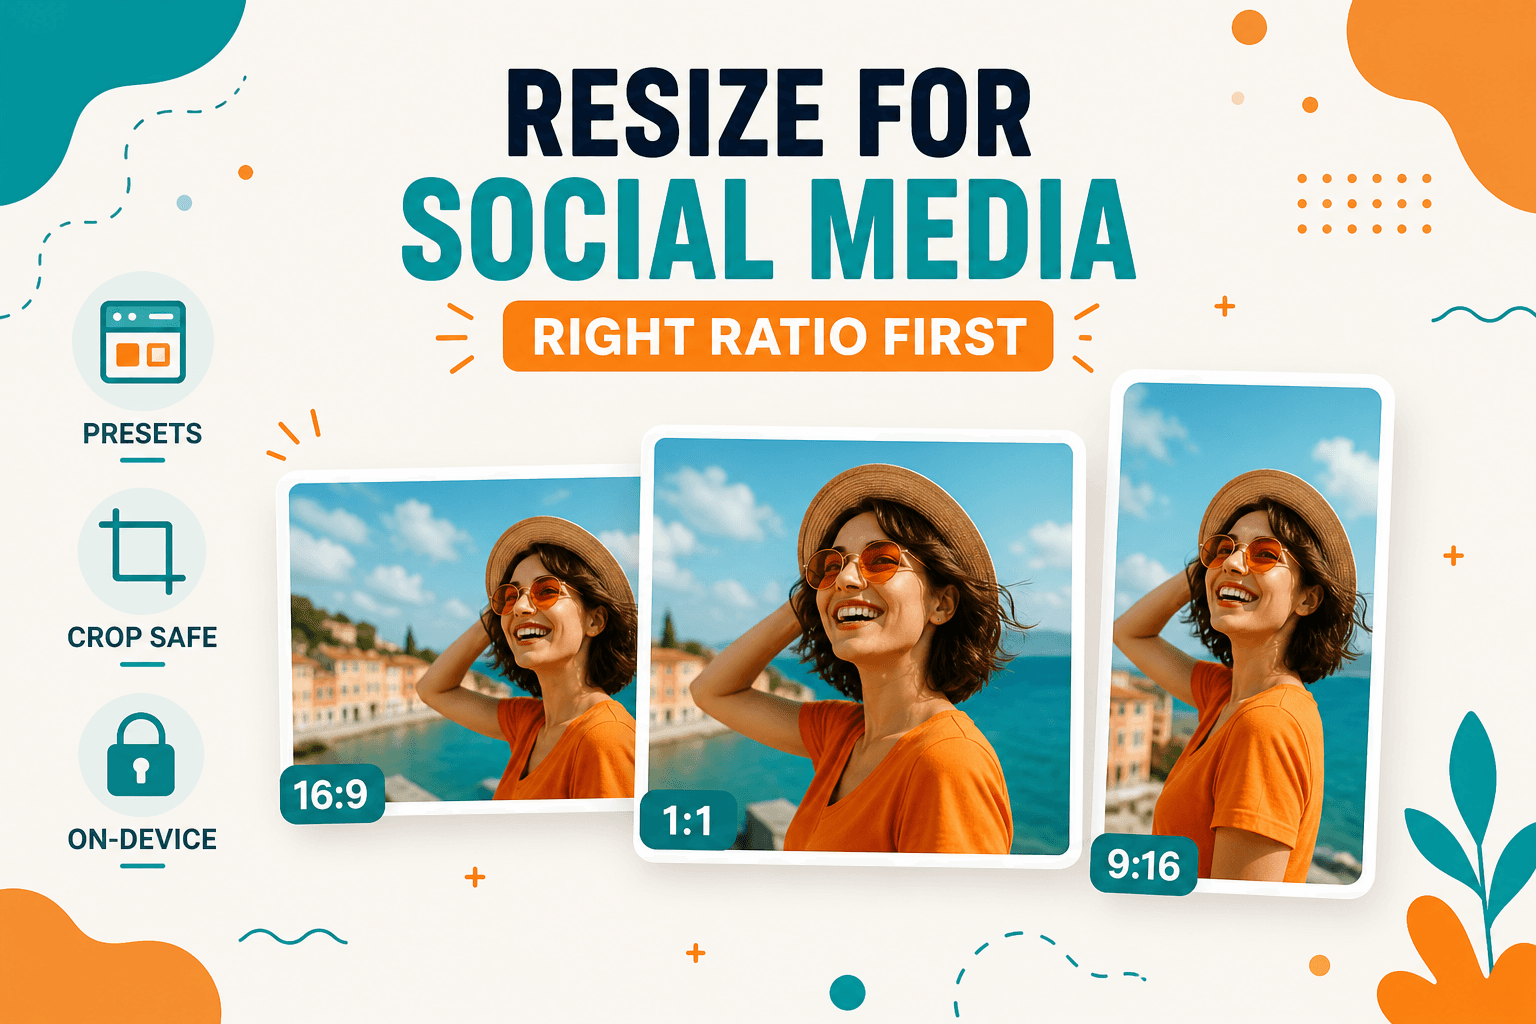
I once posted a team photo to LinkedIn and didn't notice until the next day that the platform had cropped everyone's heads off at the forehead. The image looked perfect on my phone. LinkedIn's feed aspect ratio had other ideas.
Platforms crop aggressively. What reads as a great shot in your camera roll can lose faces, logos, or key text once it hits a feed, story, or cover slot. Social Media Sizes applies the presets built into the tool so you're not guessing. For one-off pixel targets, Resize and Crop handle custom dimensions.
Our social media image sizes 2026 cheat sheet is worth bookmarking — though I'd still double-check against the platform's own docs before a big campaign launch. Presets change.
Presets in the NeedAnyTool social-size tool
| Preset | Pixels |
|---|---|
| Instagram post | 1080×1080 |
| Instagram story | 1080×1920 |
| X header | 1500×500 |
| YouTube thumbnail | 1280×720 |
| LinkedIn banner | 1584×396 |
| Facebook cover | 820×312 |
Need a size that isn't listed (for example a 4:5 Instagram portrait)? Use Crop or Resize to the published pixel size instead of inventing a preset that isn't in the tool.
Why presets beat "upload and hope"
Feed posts, stories, and cover photos all want different aspect ratios. A square crop that works on Instagram can look wrong as a LinkedIn banner. Exporting at the right dimensions upfront also means you're not relying on the platform to recompress a 4000-pixel original into something tiny — that second compression pass is where artifacts show up.
Getting it done
Head to Social Media Sizes (or Resize if you already know the exact pixel count). Pick the preset that matches where you're posting. Adjust the crop so faces and logos sit inside the safe area — don't assume the platform will center things the way you expect.
Download the image. If the upload still feels heavy, run it through Compress afterward. Usually you'd resize first, then compress — fewer pixels plus moderate quality beats crushing a huge original. For the full quality-preserving approach, see how to reduce image size without losing quality.
| Goal | Tool |
|---|---|
| Platform presets | Social Size |
| Freeform or ratio crop | Crop |
| Smaller file after framing | Compress |
These tools process everything in your browser. Your photos don't get uploaded to NeedAnyTool.
Ready to frame a post? Open Social Media Sizes and pick a preset.
FAQ
Do platform sizes change often?
They do — more than you'd think. Treat presets as a solid starting point, then verify against the platform's current help docs when you're launching something important.
Should I resize before compressing?
Usually yes. Get the dimensions right first, then compress if you still need a smaller file.
Do I need an account?
No account required.
Related guides
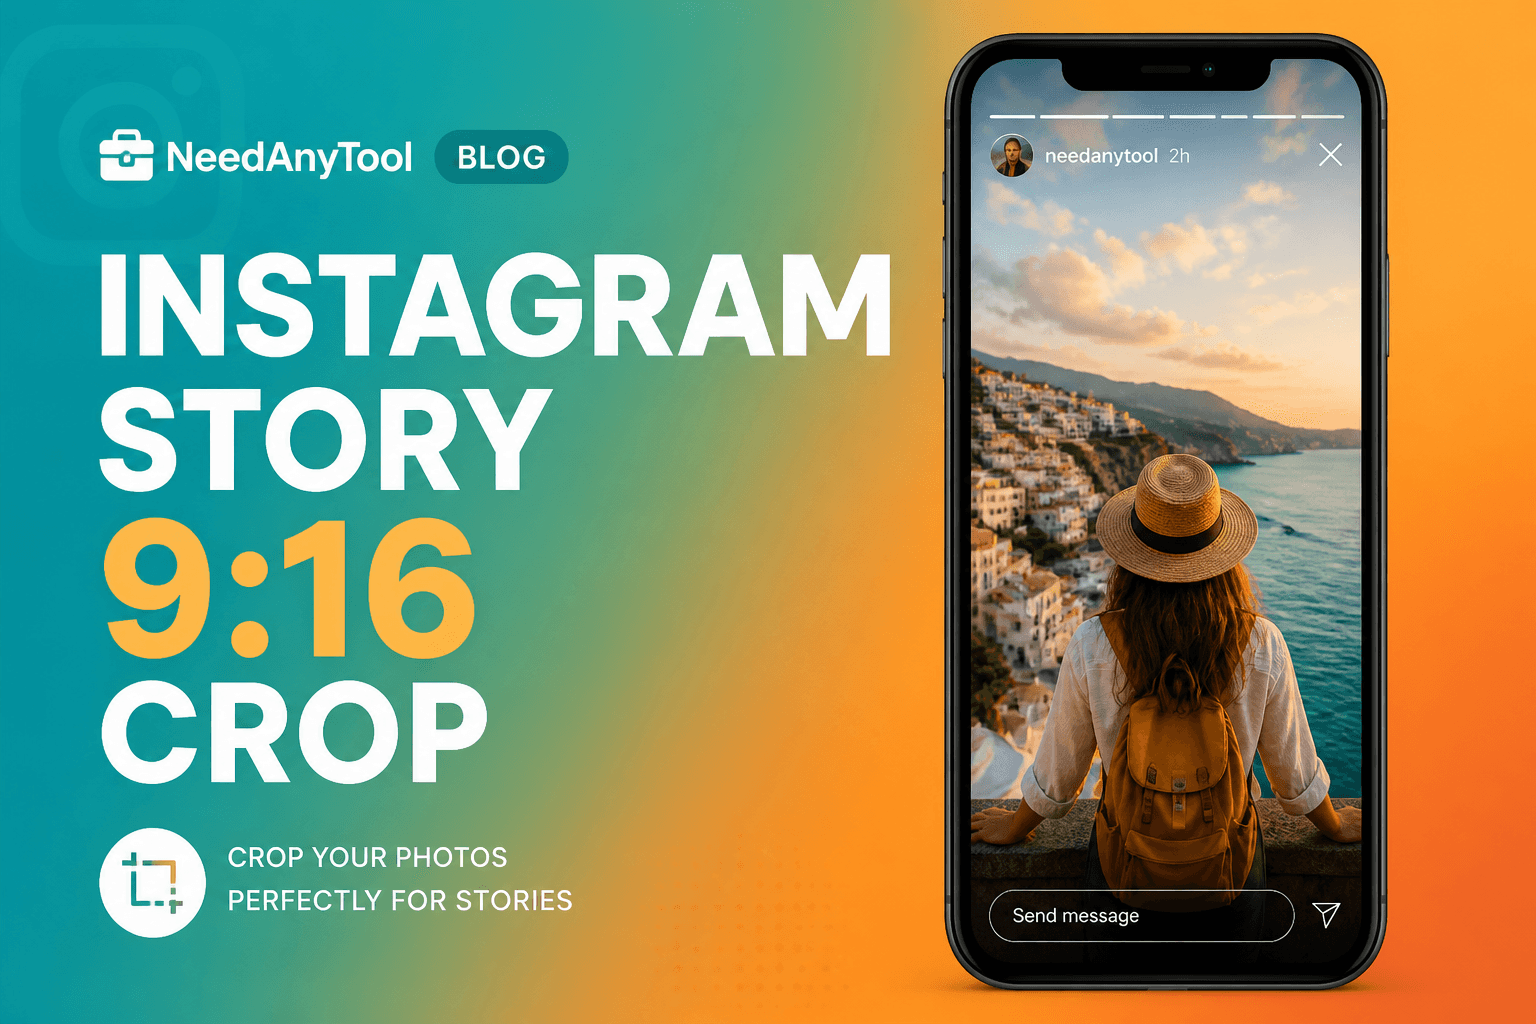
Image Guides
Crop Photos to Instagram Story Size (9:16)
Crop photos to Instagram Story size (1080×1920, 9:16) online — no app required. Free browser crop with safe-zone tips.
Image Guides
Resize Images for YouTube Thumbnails (1280×720)
Size images for YouTube thumbnails — 1280×720, 16:9 — online in your browser. Crop and export click-worthy covers without Photoshop.
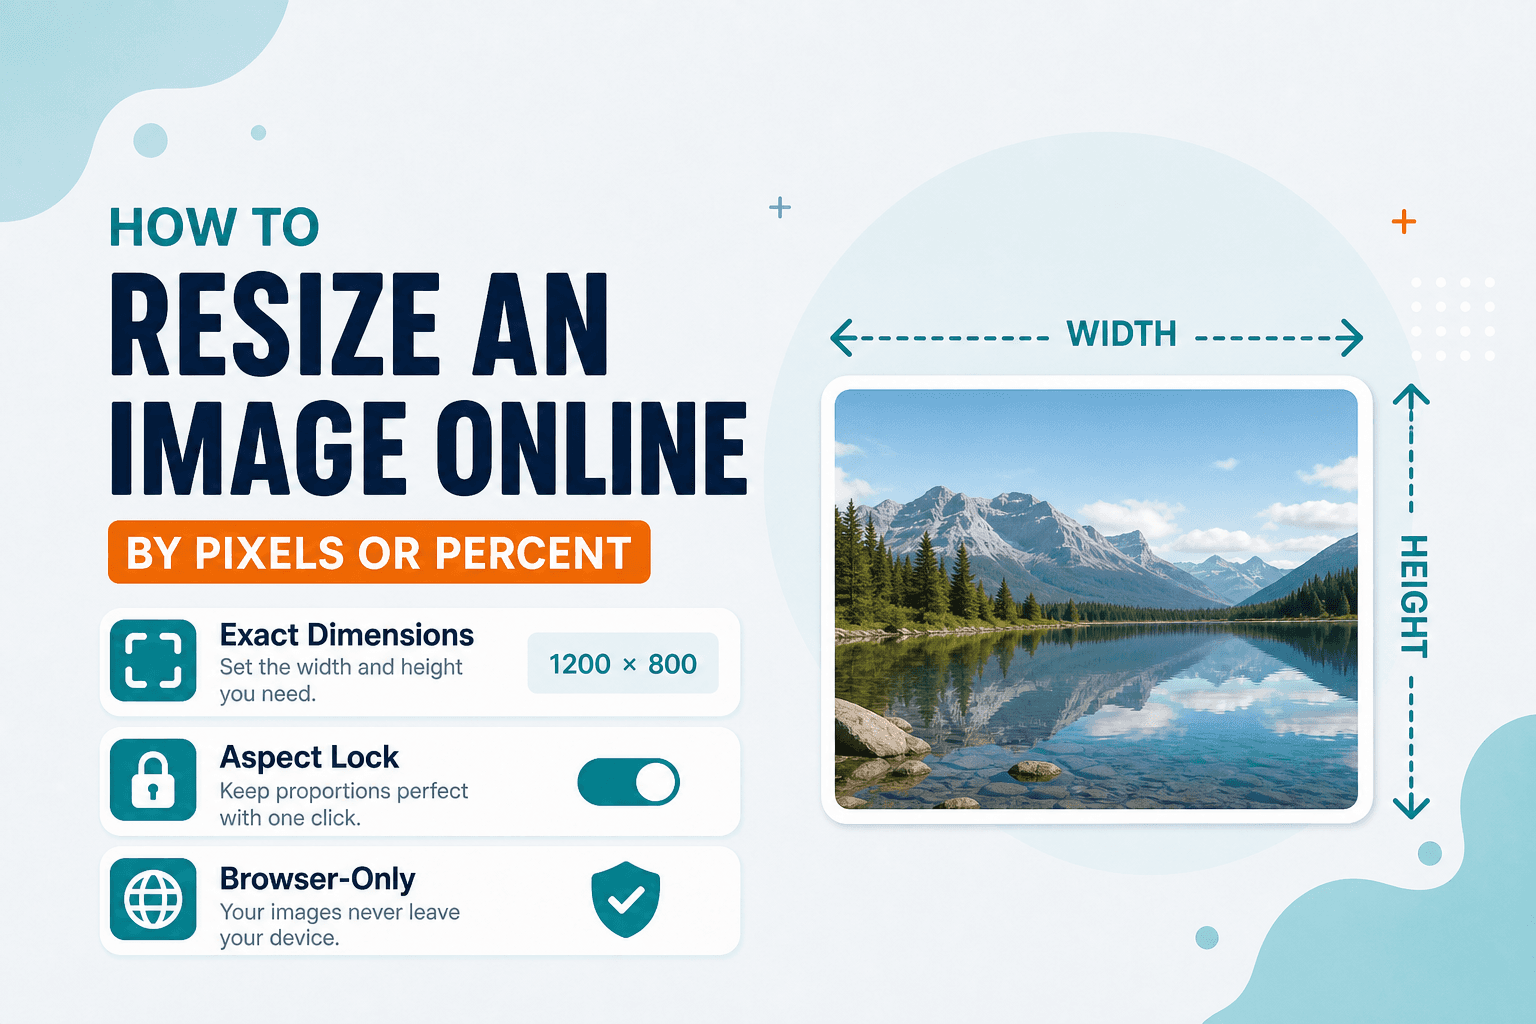
Image Guides
Resize an Image Online by Pixels or Percent
Resize an image online by pixels or percent — change width and height for web, email, or print. Free scale tool in your browser, no upload.