Image Guides
Give Any Photo a Vintage Look in One Click
Apply vintage photo filters online — sepia, faded film, and retro tones in your browser. Free nostalgic effects, no upload.
NeedAnyToolPublished Updated 2 min read
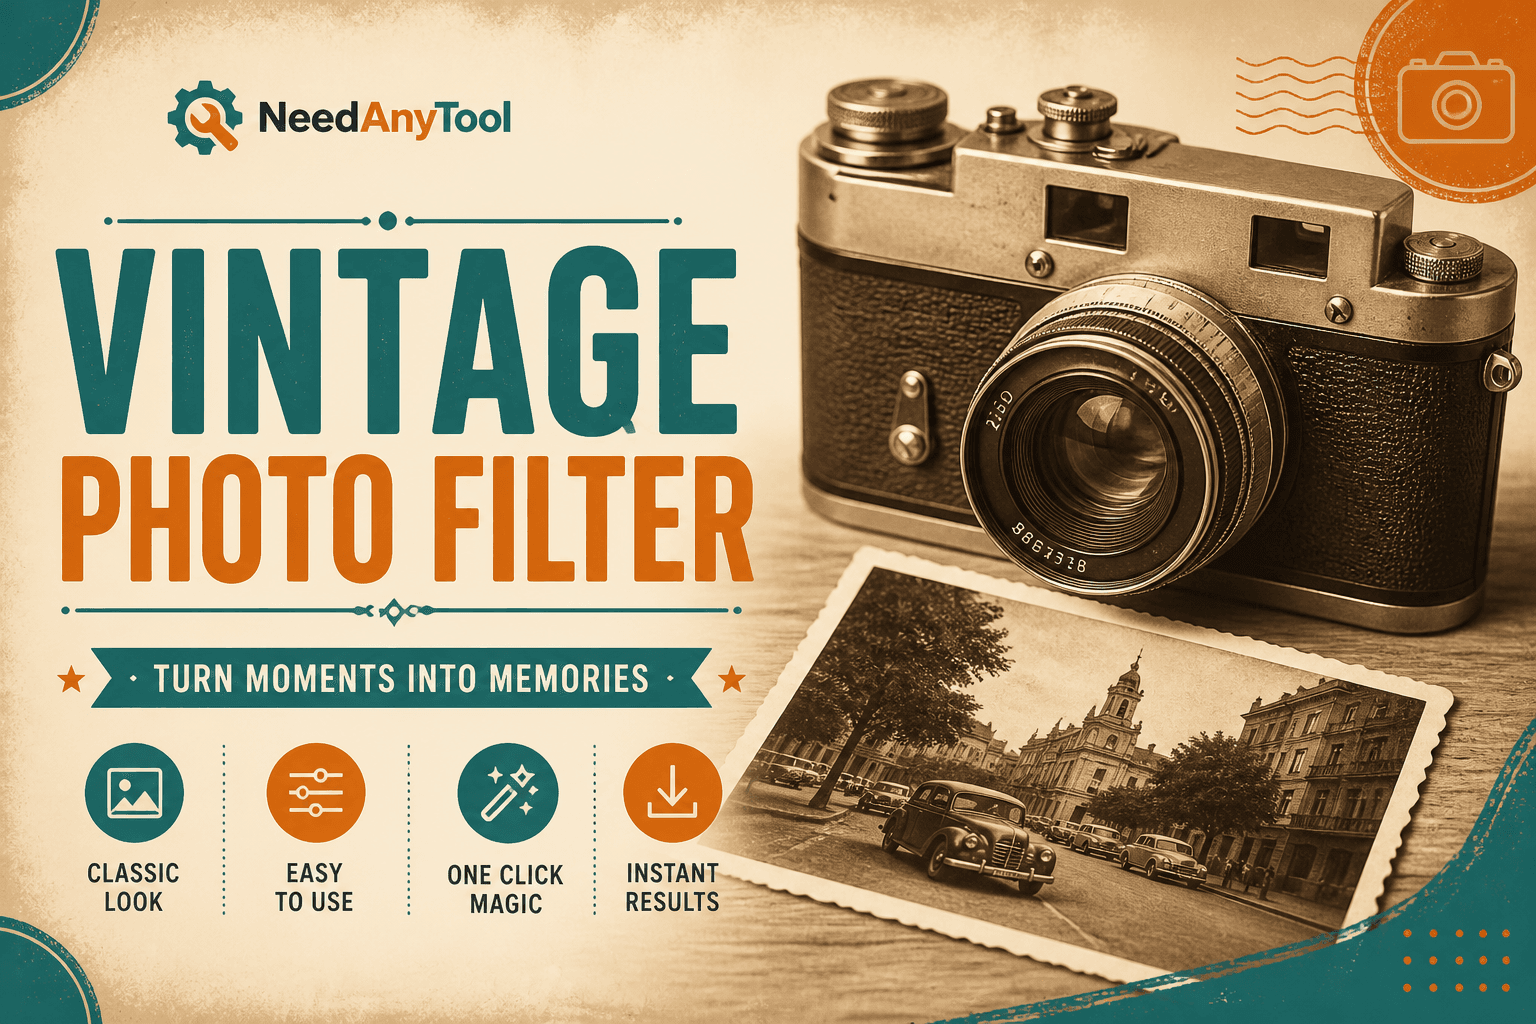
Vintage isn't just slapping sepia on everything. Real film had faded blacks, warm midtones, and that slightly washed quality where shadows never went fully black. One filter pass can sell a throwback Instagram post, make an Etsy product feel handmade, or turn a boring café shot into something that belongs on a chalkboard menu.
Photo Filters has sepia, warm, and other stylized looks built in. If the preset's close but not quite, nudge exposure and contrast in Brightness / Contrast afterward.
Where vintage actually works
Nostalgia-themed social posts, event recap albums, blog headers that shouldn't look stock-perfect — anywhere you want "memory" instead of "just took this." It falls flat on clinical product photography or anything where colour accuracy is the point.
How to apply it without muddying faces
Load your photo, pick a sepia or vintage preset, and check it at phone size. Heavy brown sepia ages skin in unflattering ways; lighter warmth usually reads better on portraits. If skin goes muddy, dial back intensity or switch to a warm filter instead of full sepia.
Signs and text with good contrast usually survive filtering. Always preview at the size people will actually see.
True black-and-white nostalgia is a different tool — Grayscale for that. Soft dreamy blur? Blur. Don't stack multiple heavy filters; one pass plus light Adjust tweaks beats muddy double-filtering every time.
Crop to Instagram Story size after filtering so your composition and effect match the final frame — a wide landscape with a heavy sepia grade looks odd once you force it into 9:16. Compress before uploading to slower platforms that throttle large files.
FAQ
Will text on signs stay readable?
Usually, if the sign had decent contrast to start. Test at phone size to be sure.
Can I layer two filters?
One strong pass, then tweak in Adjust. Double filters get muddy fast.
My source JPG looks rough after filtering — why?
Compression artifacts show up more after colour shifts. Start from the highest-quality original you have.
Any tips for portraits specifically?
Lighter sepia, always. Heavy brown makes everyone look like a 1800s daguerreotype — fun for a joke, rough for a headshot.
Related guides
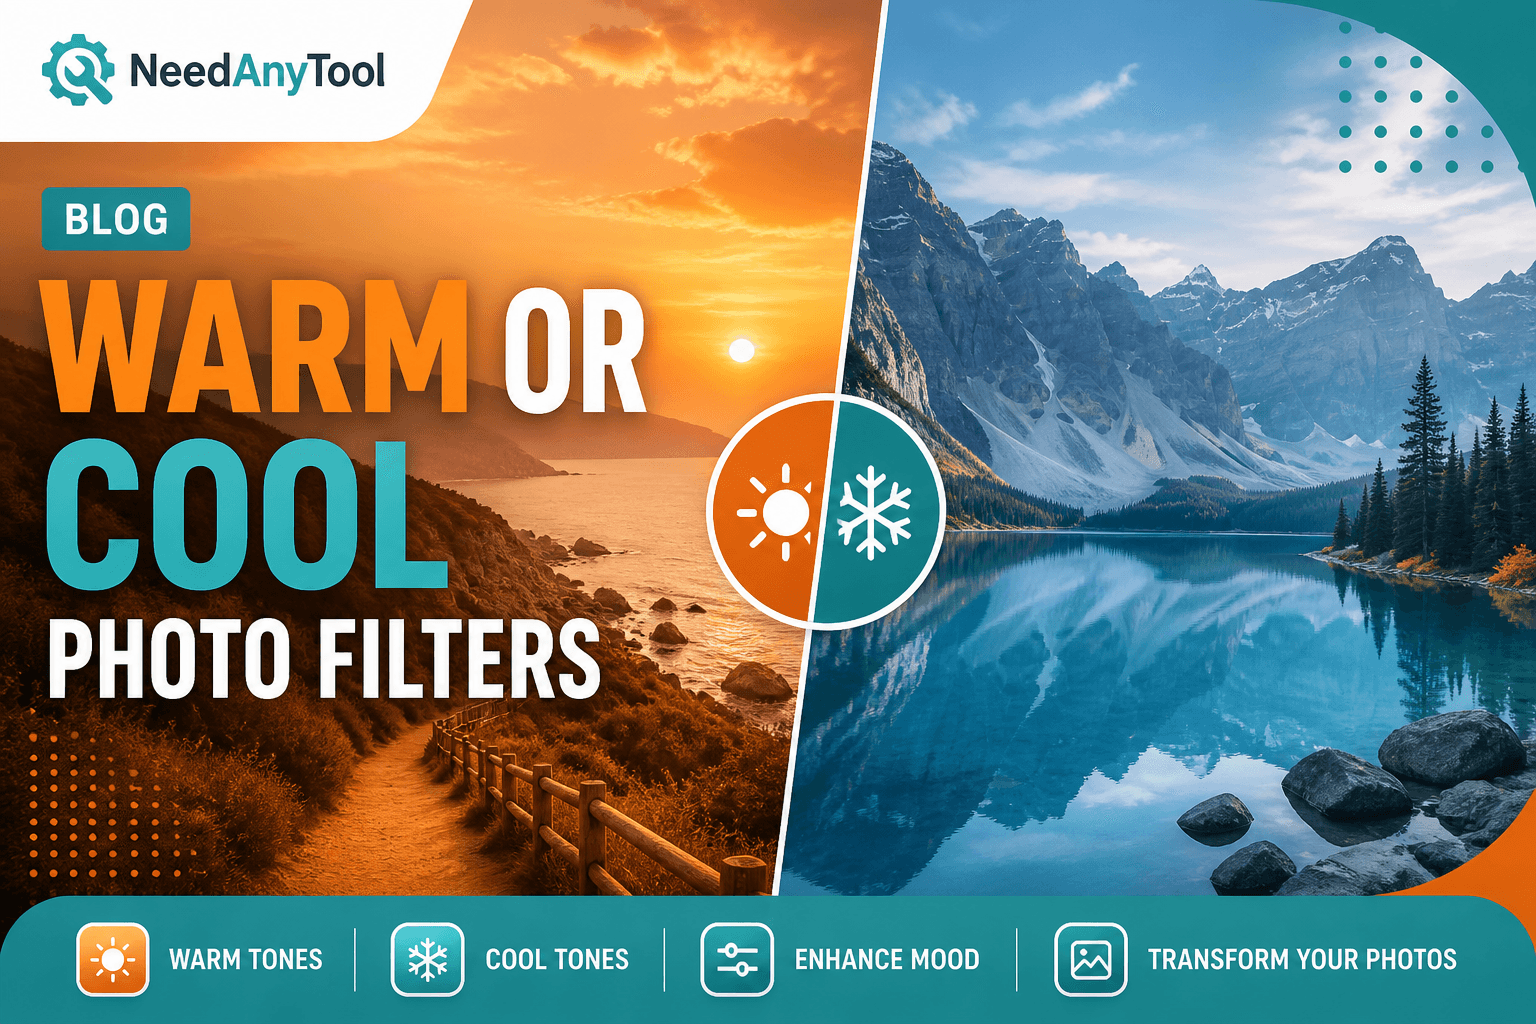
Image Guides
Warm or Cool? Shift Photo Mood With Filters
Warm up or cool down photos with one-click filters — fix colour cast and set mood online in your browser. Free, no account.
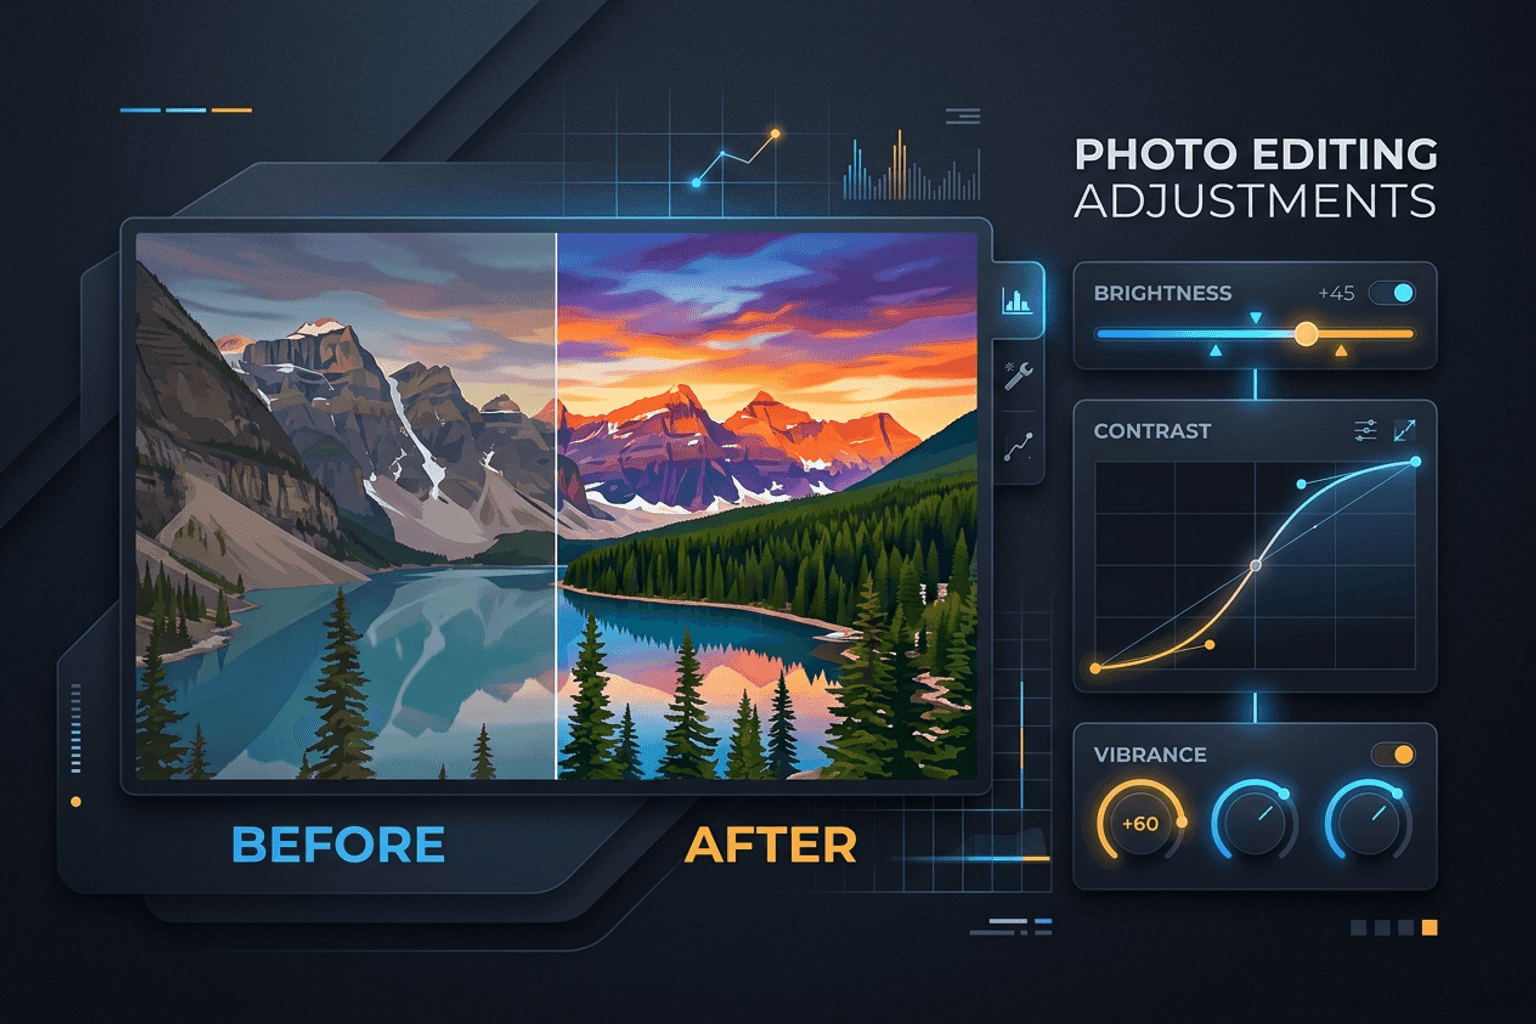
Image Guides
Adjust Photo Brightness & Contrast Online (No Software Needed)
Fix dark, washed-out, or underexposed photos in your browser. Adjust brightness, contrast, and saturation in real time with zero software installs or uploads.
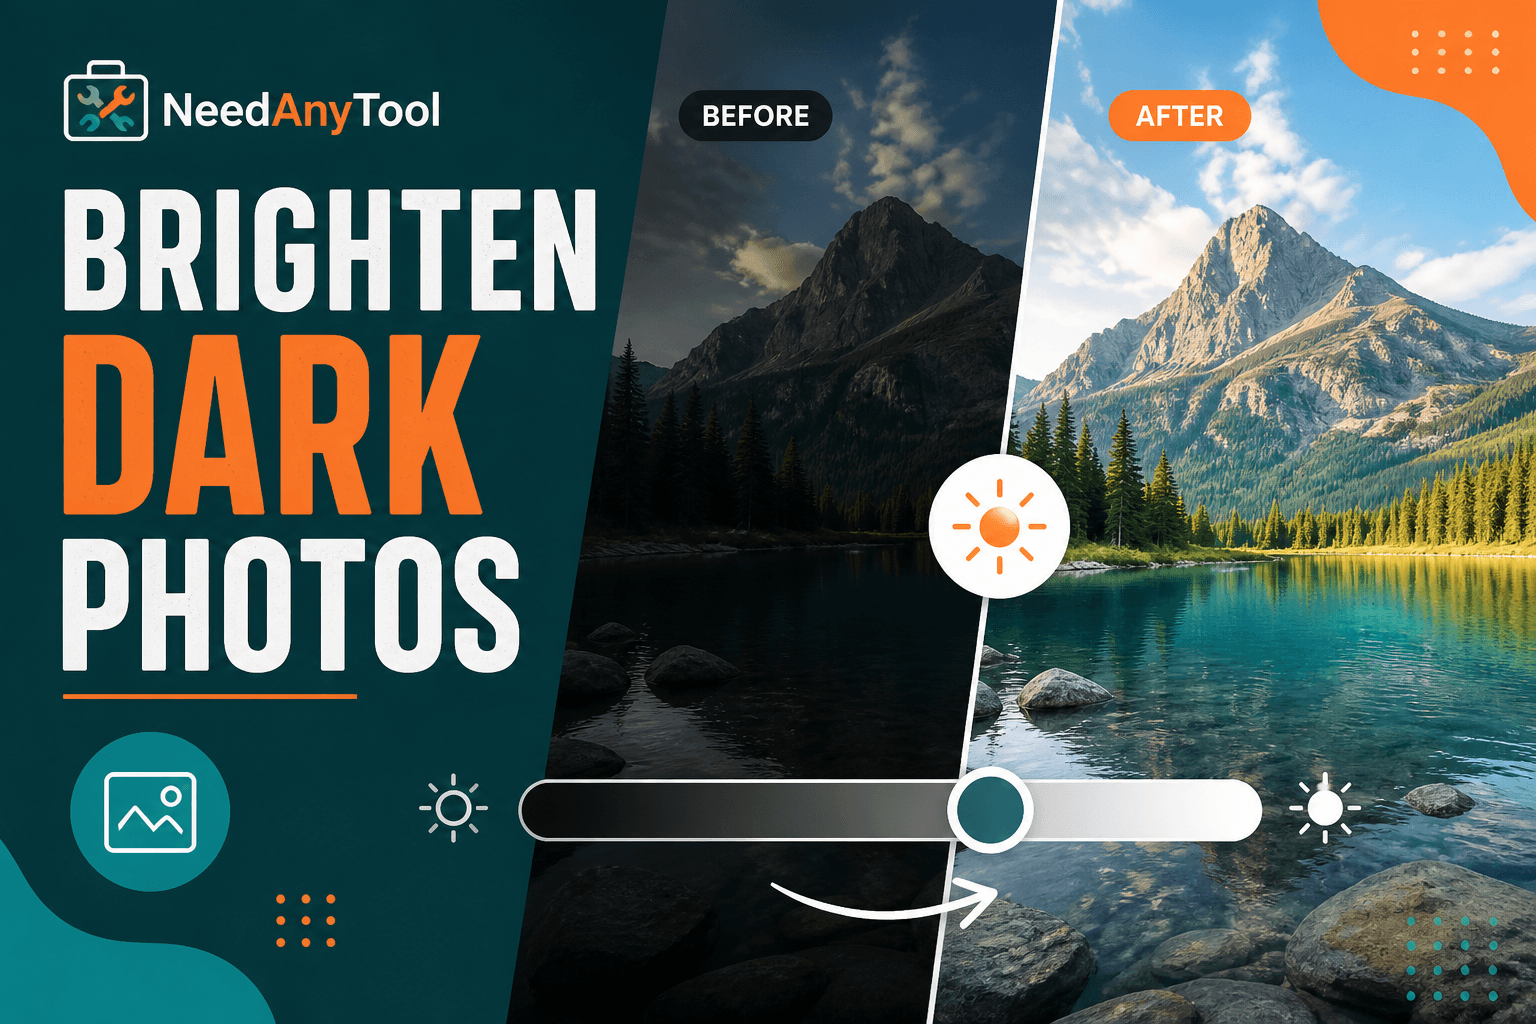
Image Guides
Photo Too Dark? Brighten It in Your Browser
Brighten dark photos online — fix underexposed shots with brightness and contrast controls. Free, private, no upload.